My Patchwork Writing Process
I've been writing novels for more than twenty years now—CAN YOU BELIEVE THAT?—but there is always more to learn about the craft, and more to observe of one's natural inclinations. This is how and why I do what I do. Here are some ways I might fine-tune a particular step in my process—for greater "efficiency," yes, but also for greater enjoyment.
As I listened to the audio modules inside my dear friend Heather Demetrios's new on-demand course, You Have a Process, it occurred to me that while I've spent plenty of time charting out my idea-generation process—on YouTube and inside The Bright Idea Kit—I haven't reflected too much on the actual drafting, which is far and away the most intimidating part from most aspiring writers' point of view. If you'd asked about my first-drafting style before going through You Have a Process, this is what I'd've told you:
I bring piles of handwritten notes to the Scrivener document. I don't write in chronological order. Usually I'll write fifty pages or so and then I'll outline the entire book. At the end of a writing session, I try to have a kernel of a scene to start with the next day—something I'm excited to dictate into Scrivener as I'm watching it play out in my head. Maybe eighty percent of the time I slip into flow within minutes, the other 20% being tooth-pulling days, but I don't get down on myself. Doing yoga, going for a walk, taking a shower, cooking dinner, or working on an easy knitting or sewing project helps with a mild case of creative constipation (because I don't experience "block," per se—not anymore). Whatever isn't quite coming together, the solution generally slides in at an oblique angle (i.e., it has nothing to do with whatever is in front of me, but it shows up because mentally I've cleared the space for it.)
This is all true, but it's not as specific (and therefore as helpful for other writers) as it could be.
From the beginning I understood that many (if not a majority of) writers draft their stories in chronological order, and it didn't seem like a problem that I never felt inclined to write that way. In my initial drafting phase, I sit down to write whichever scenes I feel like. I'm only 30% of the way through my first draft of the time-travel novel, but I've already written a pivotal conversation that happens in the last chapter. At some point as I was listening to my friend's warm and reassuring voice coming out of my bedside speaker, I had the most delicious little a-ha moment:
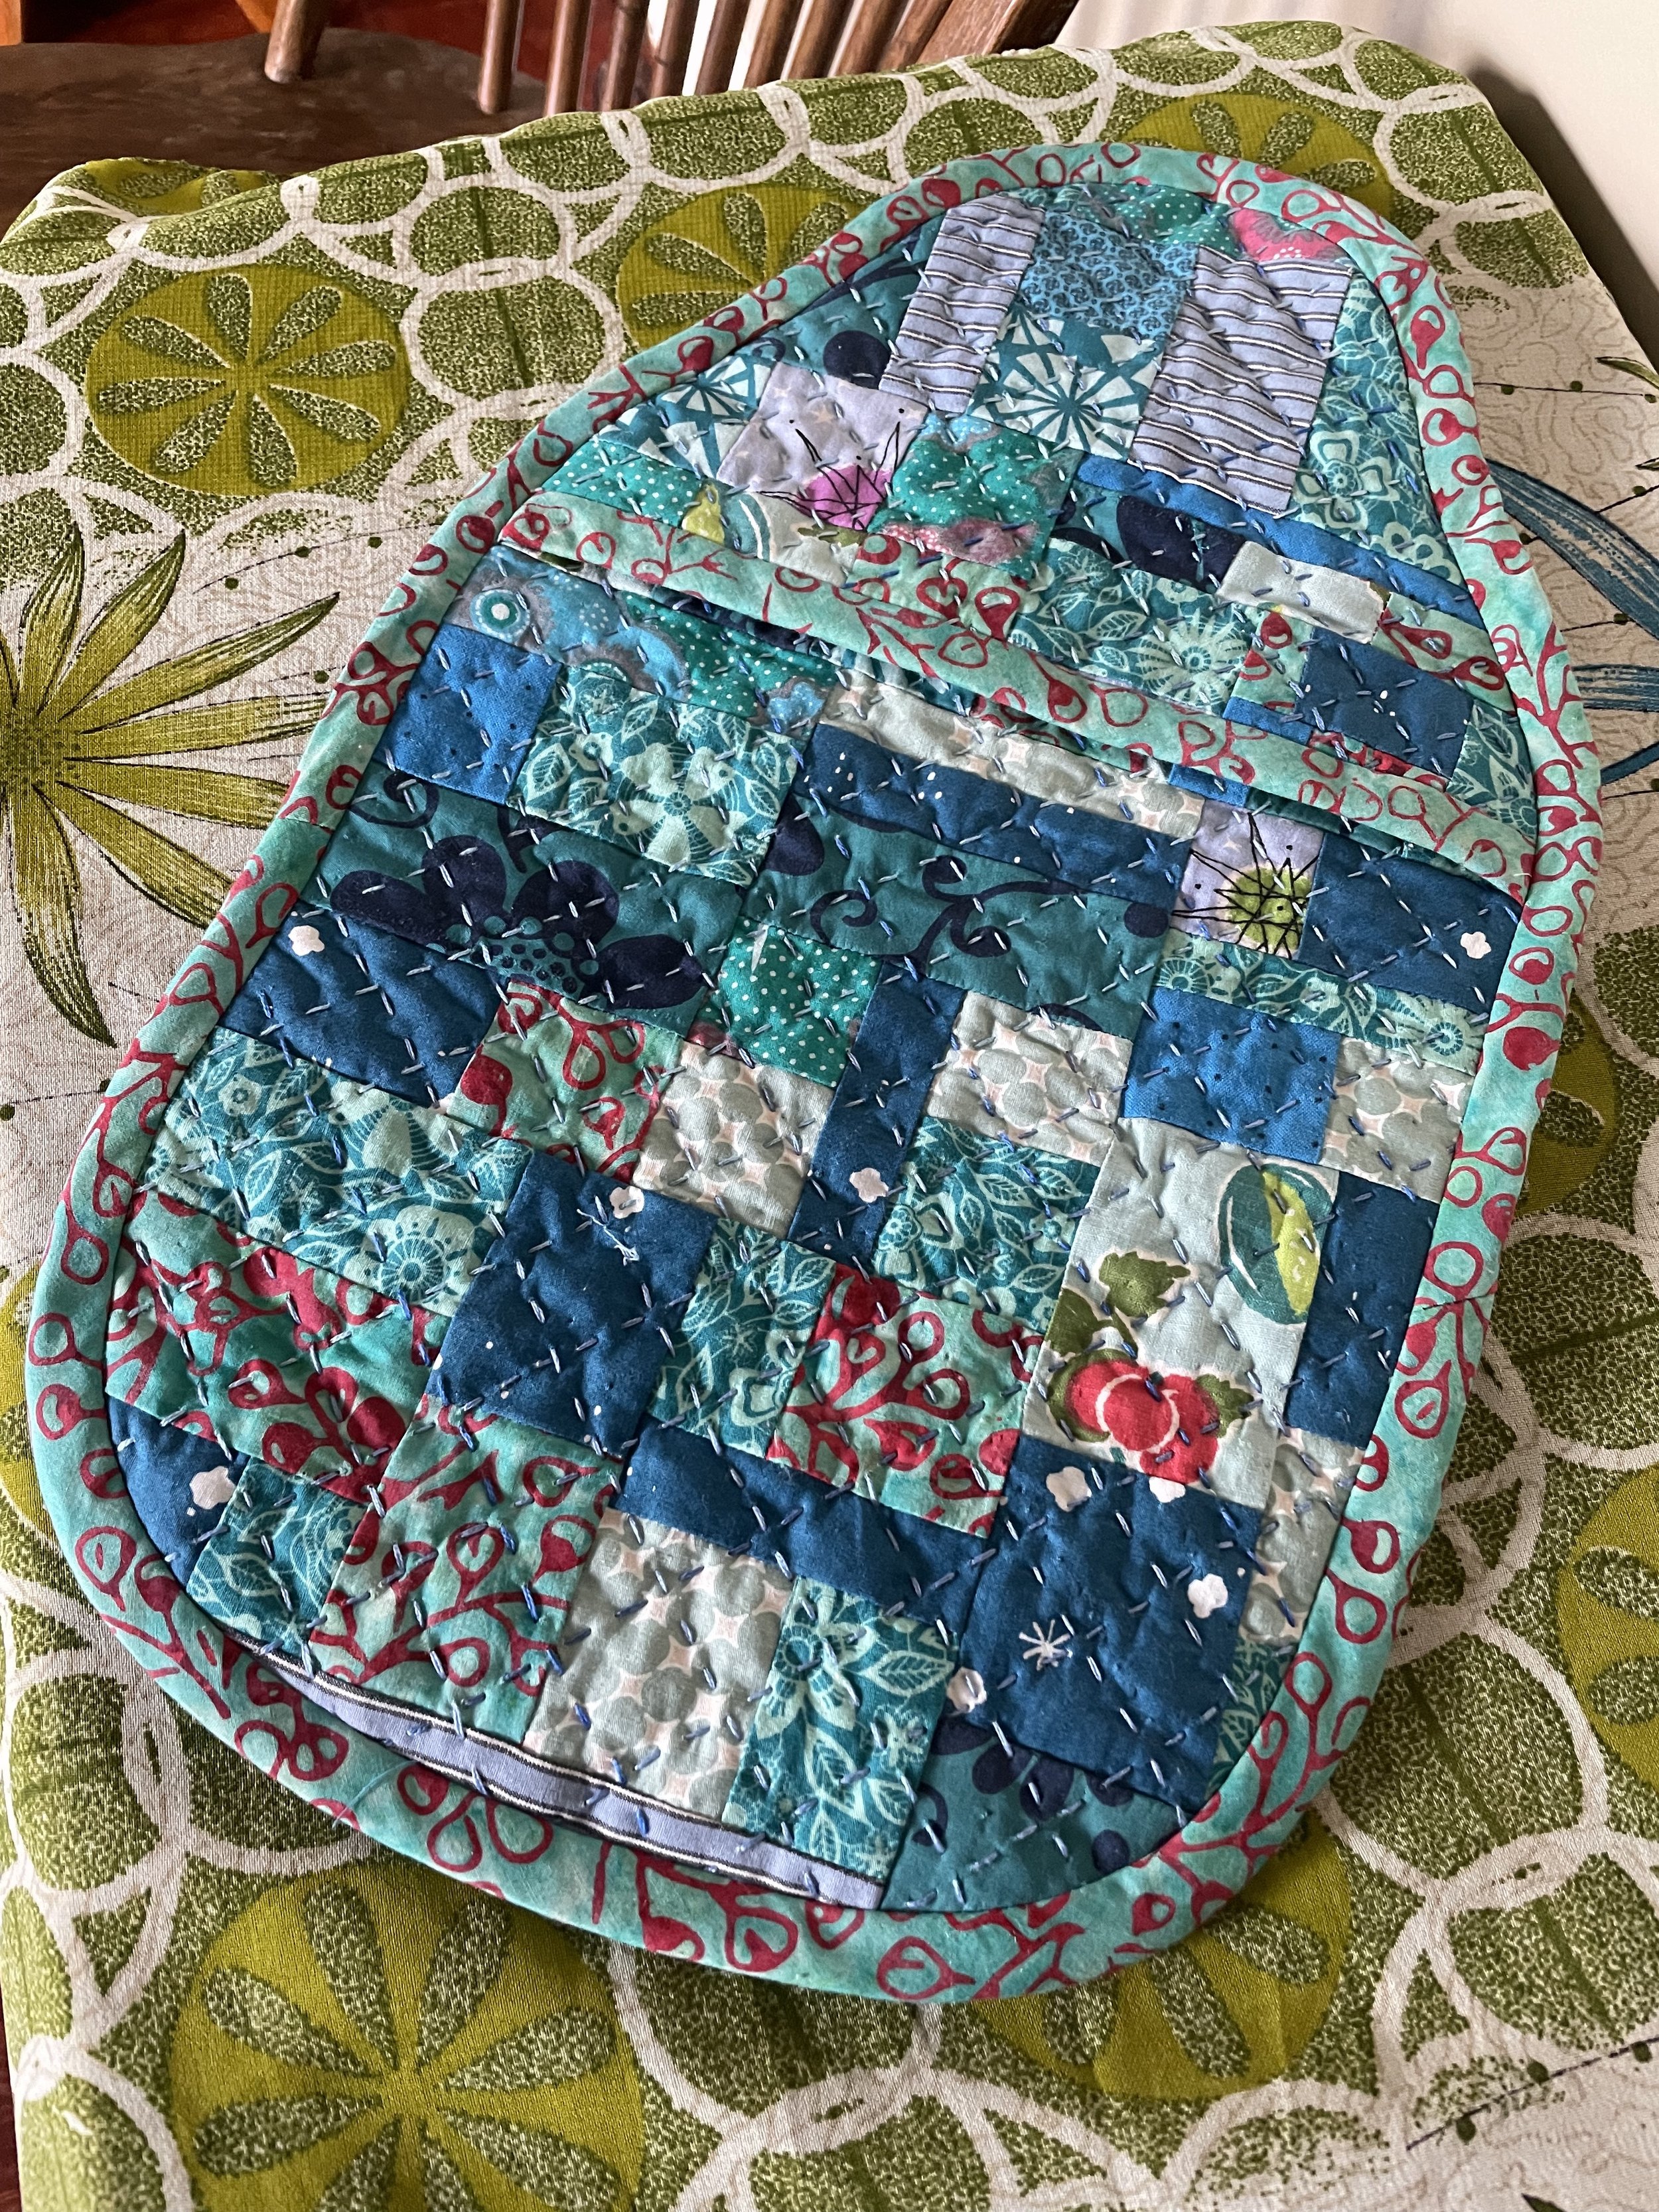
I draft a novel in much the same way I cut and assemble a piece of patchwork!
It's been a long time since I've blogged about my crafting—I have a baby-quilt show-and-tell post from 2019 still languishing in my drafts—though I have shared more on Instagram in this video on creative cross-pollination and this one on "avocational ambition." (Those are YouTube links, in case you don't have an Instagram account.)

Baby quilt for my cousin Jenni, 2019.
The most basic definition of patchwork is cutting large pieces of fabric (usually quilting cotton) into smaller—sometimes very small—pieces, rearranging and then stitching them into a visually pleasing design. Sometimes it's traditional and perfectly geometric and other times (as in "crazy" or crumb quilting) you're making it up as you go. It's not a perfect analogy, but for me it's an illuminating one: because in both disciplines I generate purposeful fragments—discrete moments of connection or observation or insight, without thinking too much about context or finishing—and after months of working in this fashion, I can arrange those many pieces into a sensible order and add the necessary "sashing" so that each scene continues "seamlessly" (har, har) into the next.


My first curved piecing (2018).

Slowly coming together...

Arranging and adding the sashing.

To mix our metaphors here, what I'm calling "sashing" is what many writing teachers would refer to as "connective tissue." In a particular chapter, I might have 60% of scene A, only a half-finished dialogue from scene B, and a scene C that is more or less complete. Because I have my outline by this stage—my self-drafted pattern, in needlework parlance—I mostly know what more is needed in scene A, how to get the characters to the point that they are having the conversation in scene B, and how to segue into scene C. There are still question marks here and there, particularly where the science (or "science") is concerned, or more historical research is required, but as I proceed from here I have every confidence that I will eventually gather the information I need to fill those lacunae.
In essence, I compose my first draft in two stages: there is the initial draft-whatever-I-please, cutting-up-calico-into-itty-bitty-pieces phase, and then there is the arrangement and assembly/filling-in phase. Both are enjoyable, but the second phase is more consistently so because I already have a large bank of material to work with. It's easier to compose a line that sings—a sentence I can feel proud of—if it's closing out a scene I half-drafted three months earlier.
Amazing, isn't it, how long it's taken me to notice just how process-oriented and low-pressure my natural method of drafting truly is! (And of course now I'm thinking about how I can demonstrate using actual writing samples—that'll eventually be a video inside the Bright Idea Kit. I'll include photos from my crumb-quilting, which is an even tidier analogy!)
[EDIT, November 2023: my Teachable courses are no longer available (I gotta cough up to keep them live, and I don’t have the bandwidth for marketing right now), but I will make it available inside my Resource Library; subscribe to email updates to snag the password.]
Hot water bottle cover for my friend Joelle.
Cocktails & Calico, part 2
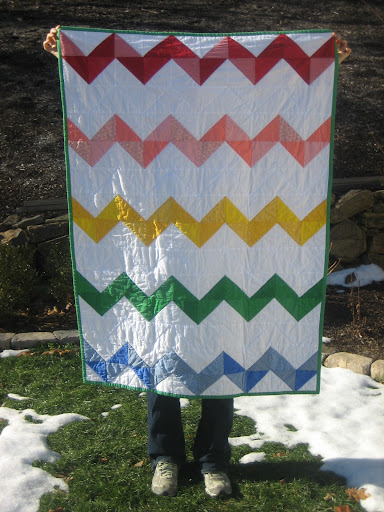
(Cocktails & Calico, part 1; Musings from a Beginning Quilter.) It's FINISHED!!!!!!!!!!!!!!!!!!!!!!!!! After more than two years, a truckload of fabric, and hours of cutting, sewing and pressing, I completed Kelly's wedding quilt. (It's been done for months now, I just never got around to blogging these photos for some reason.)
 At least a mile of quilt binding strips.
 Sewing it on.
 I embroidered a dedication and sewed it on the back.
 Ready to wrap!
Happy Stitching


Some things I've been stitching since June Squam 2012:
A gift for Olivia, stitched in Jessica's class.
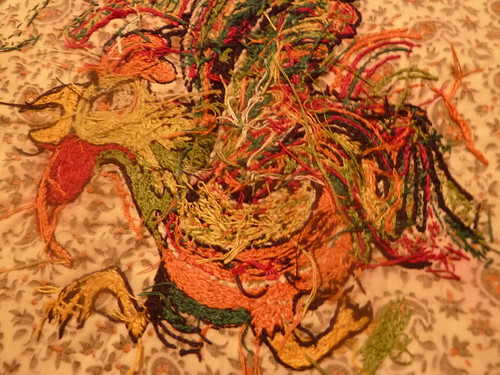
A few shots of Kate's birthday present, the angry rooster translated from Colombian graffiti, which I began in Rebecca's class: Dissolving the Sulky Solvy (the product you use to transfer the design).
A wedding gift for my cousin Jenni. She asked me to read this poem during the ceremony, so I thought it would be fun to stitch up my favorite lines, with alternating mirror-writing to add some visual interest.
Olivia really wanted to stitch, so I got her some yarn embroidery kits from Jo-Ann for her birthday. (She's six already!!!)
A mystery gift (lyrics! I bet you can guess the song.)
For Kelly and Jeff, with lots of ♥ from Mealey D. (See Cocktails & Calico and Musings from a Beginning Quilter; proper quilt post coming soon!)
Musings from a Beginning Quilter
Today I have a guest post on beginning quilting on my friend Anne's blog, Flax & Twine! Check it out!
(See also Cocktails & Calico and Welcome to Babyville, part 2.)
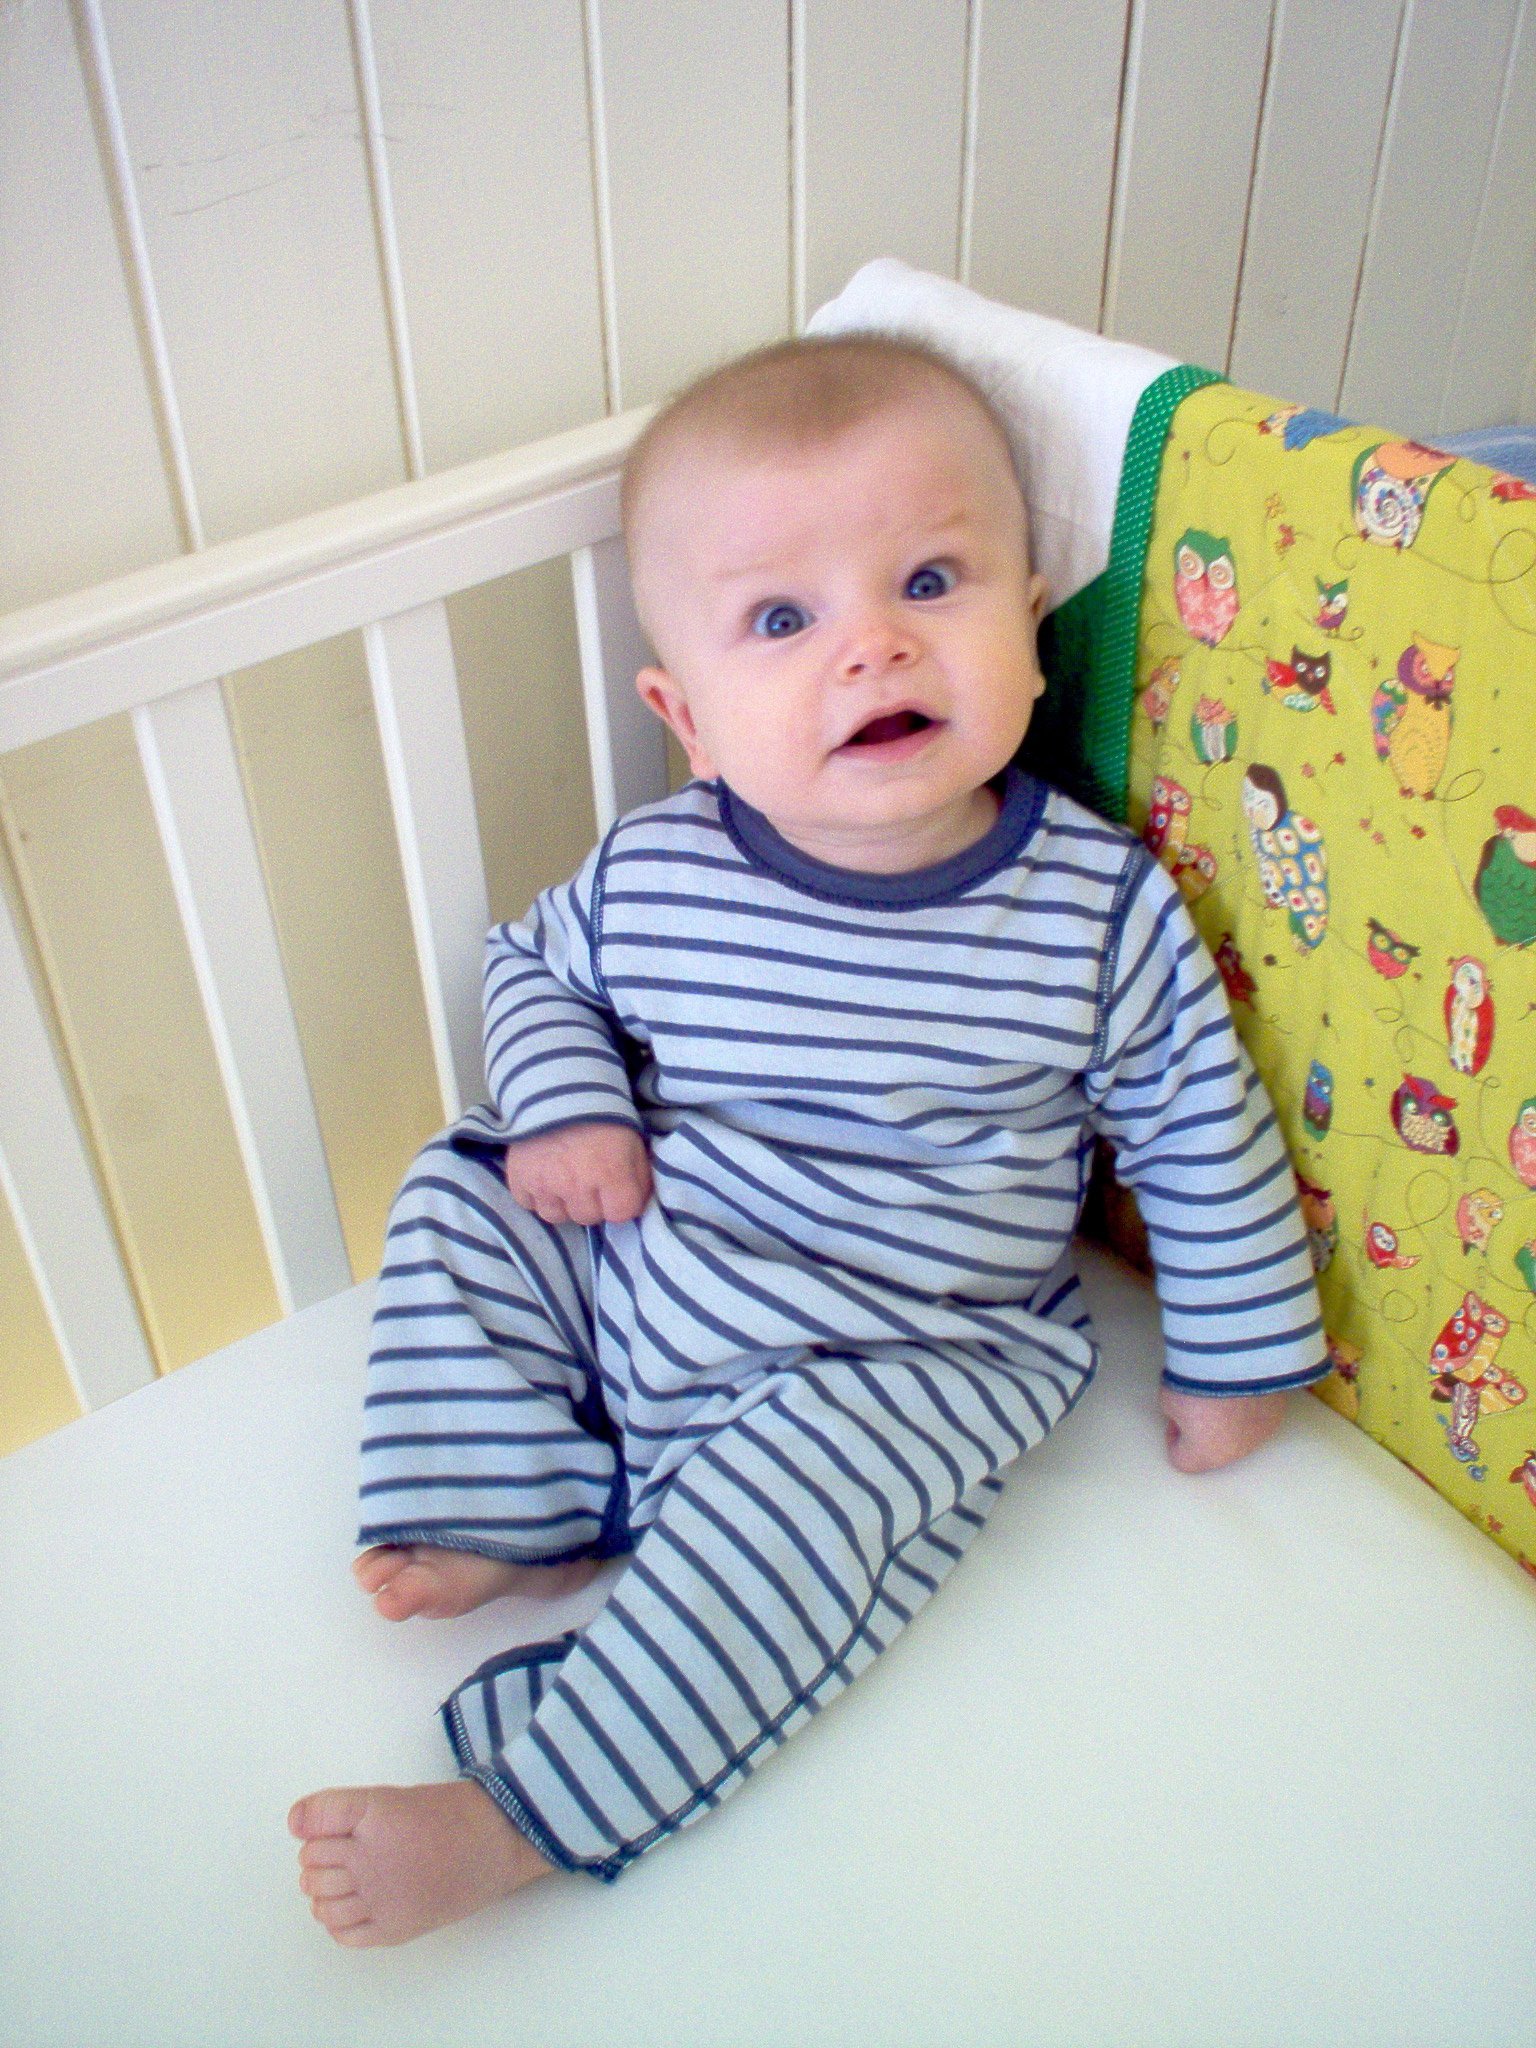
Cóilín likes the back side of his quilt better. He converses with the owls.
(He's two now, so he's grown out of that, but it still makes me happy to think of it!)
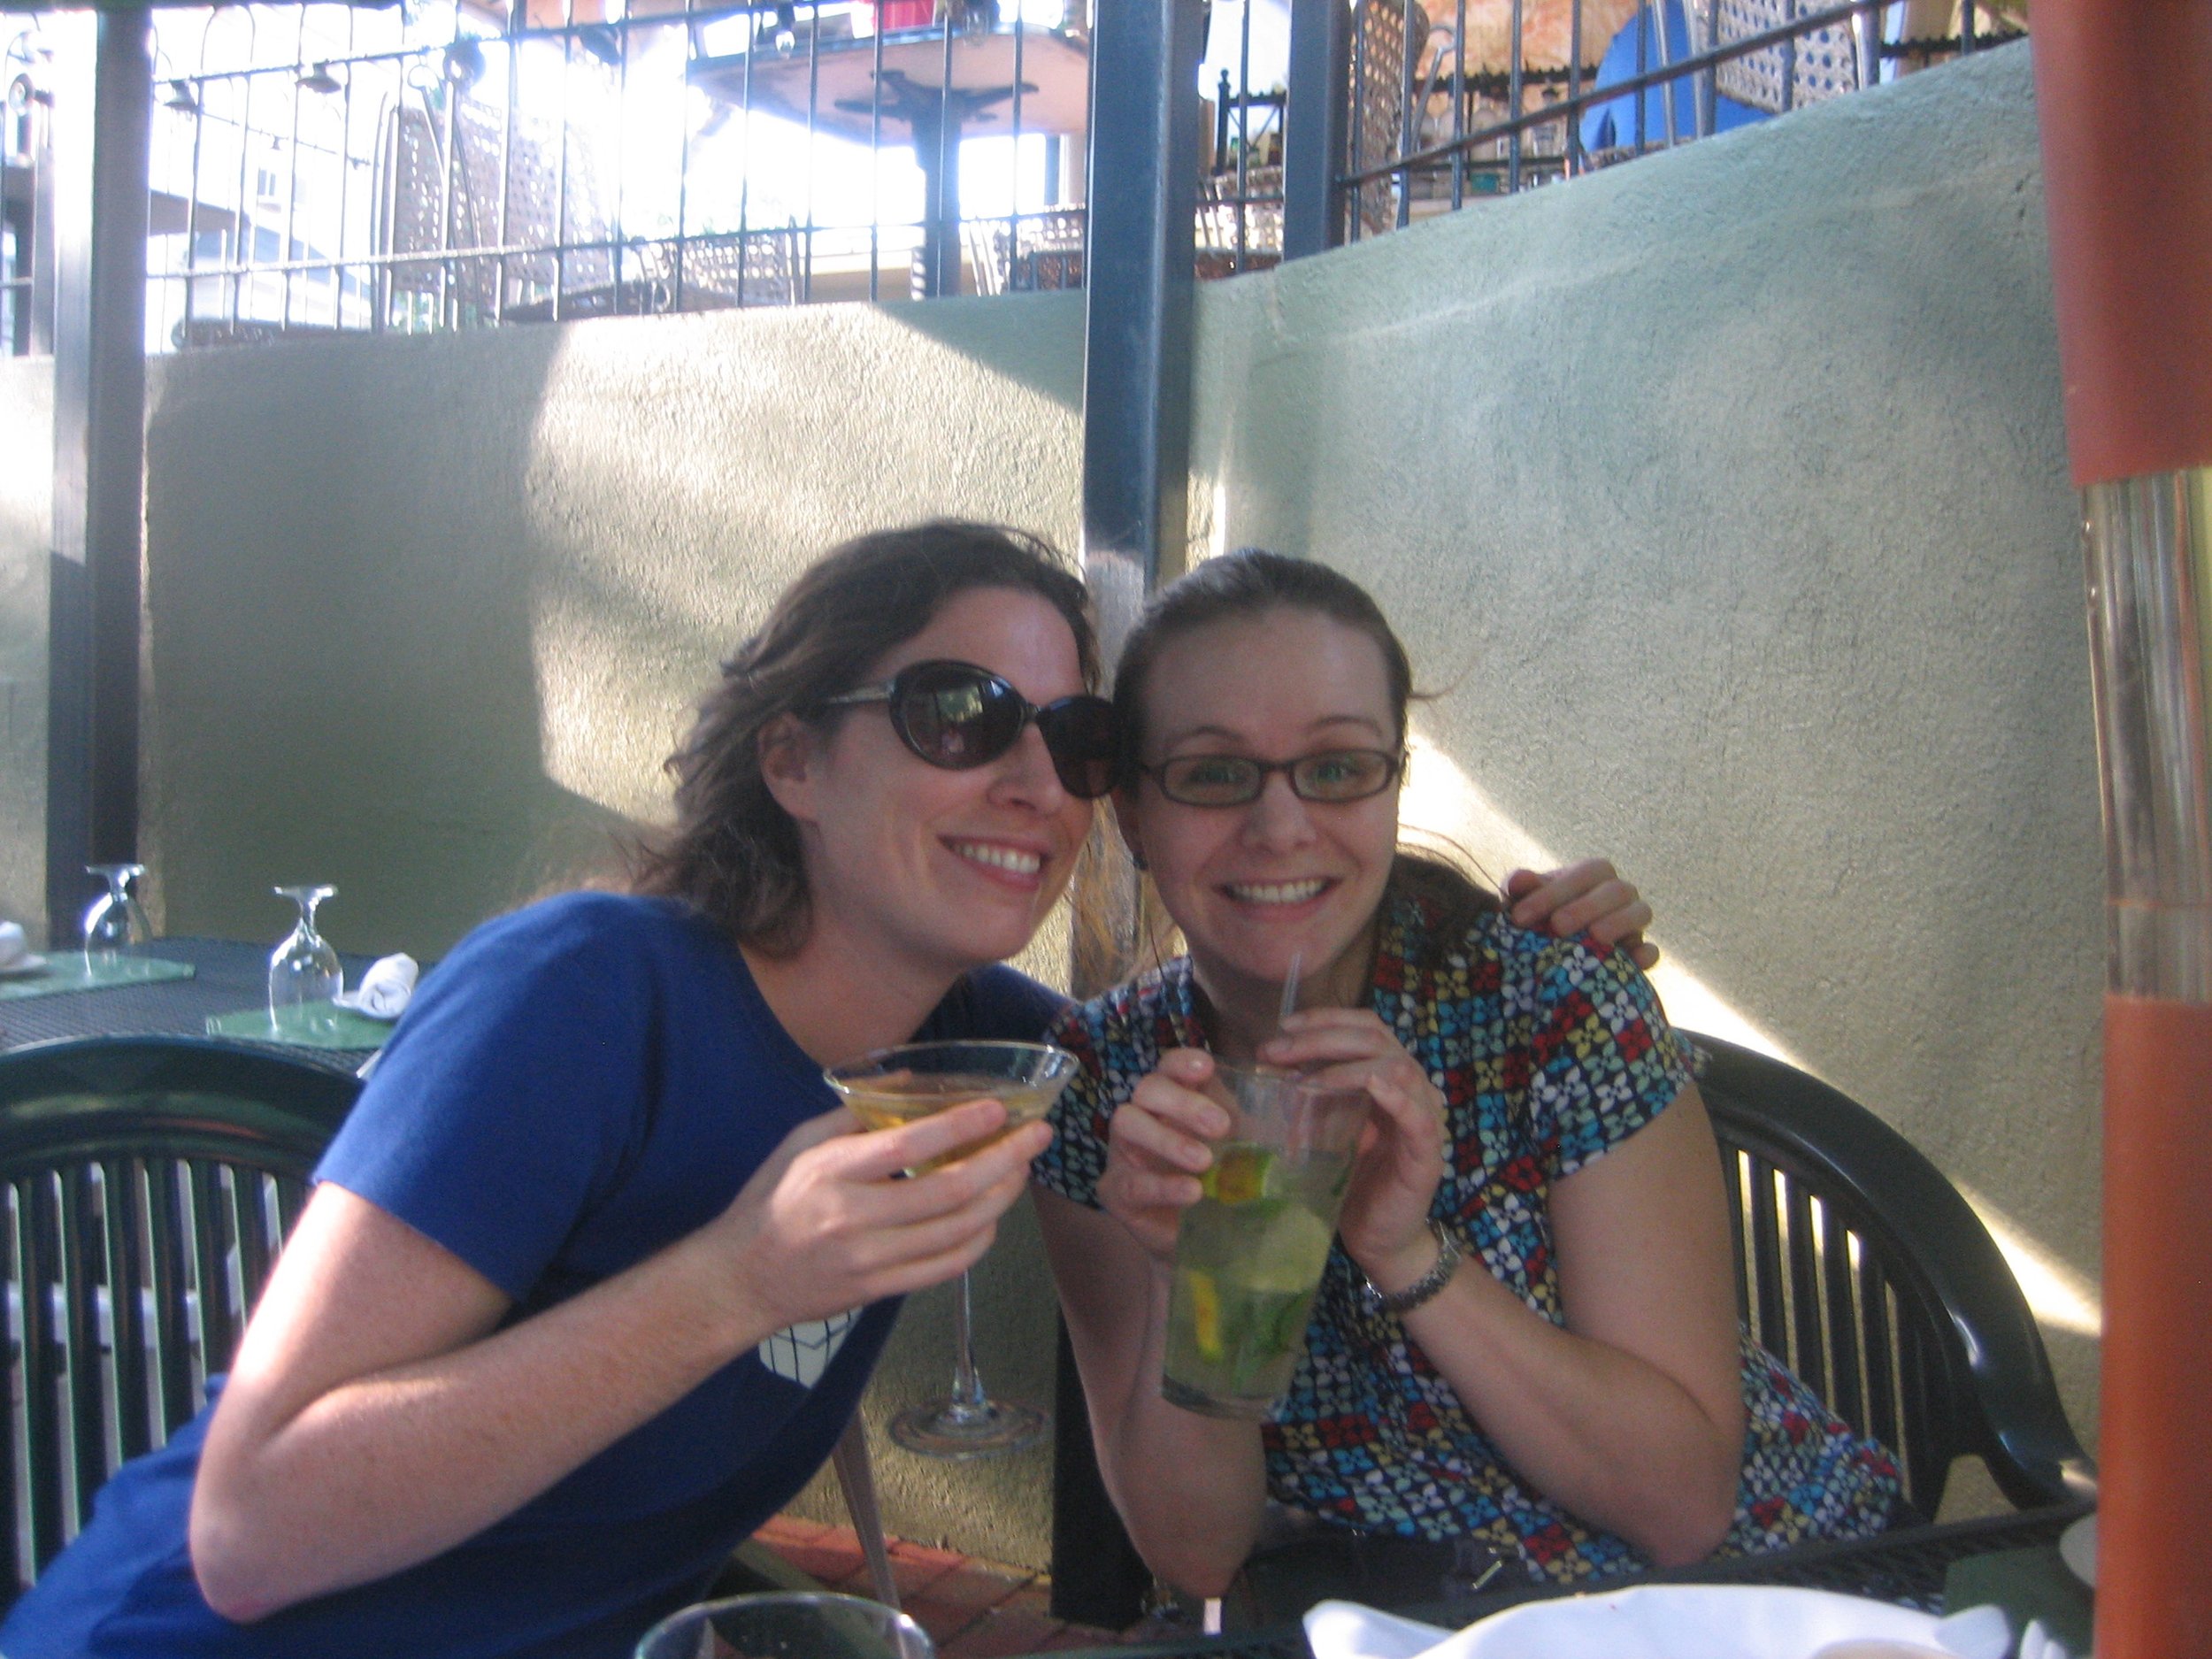
Cocktails & Calico
(Not in that order, of course.)
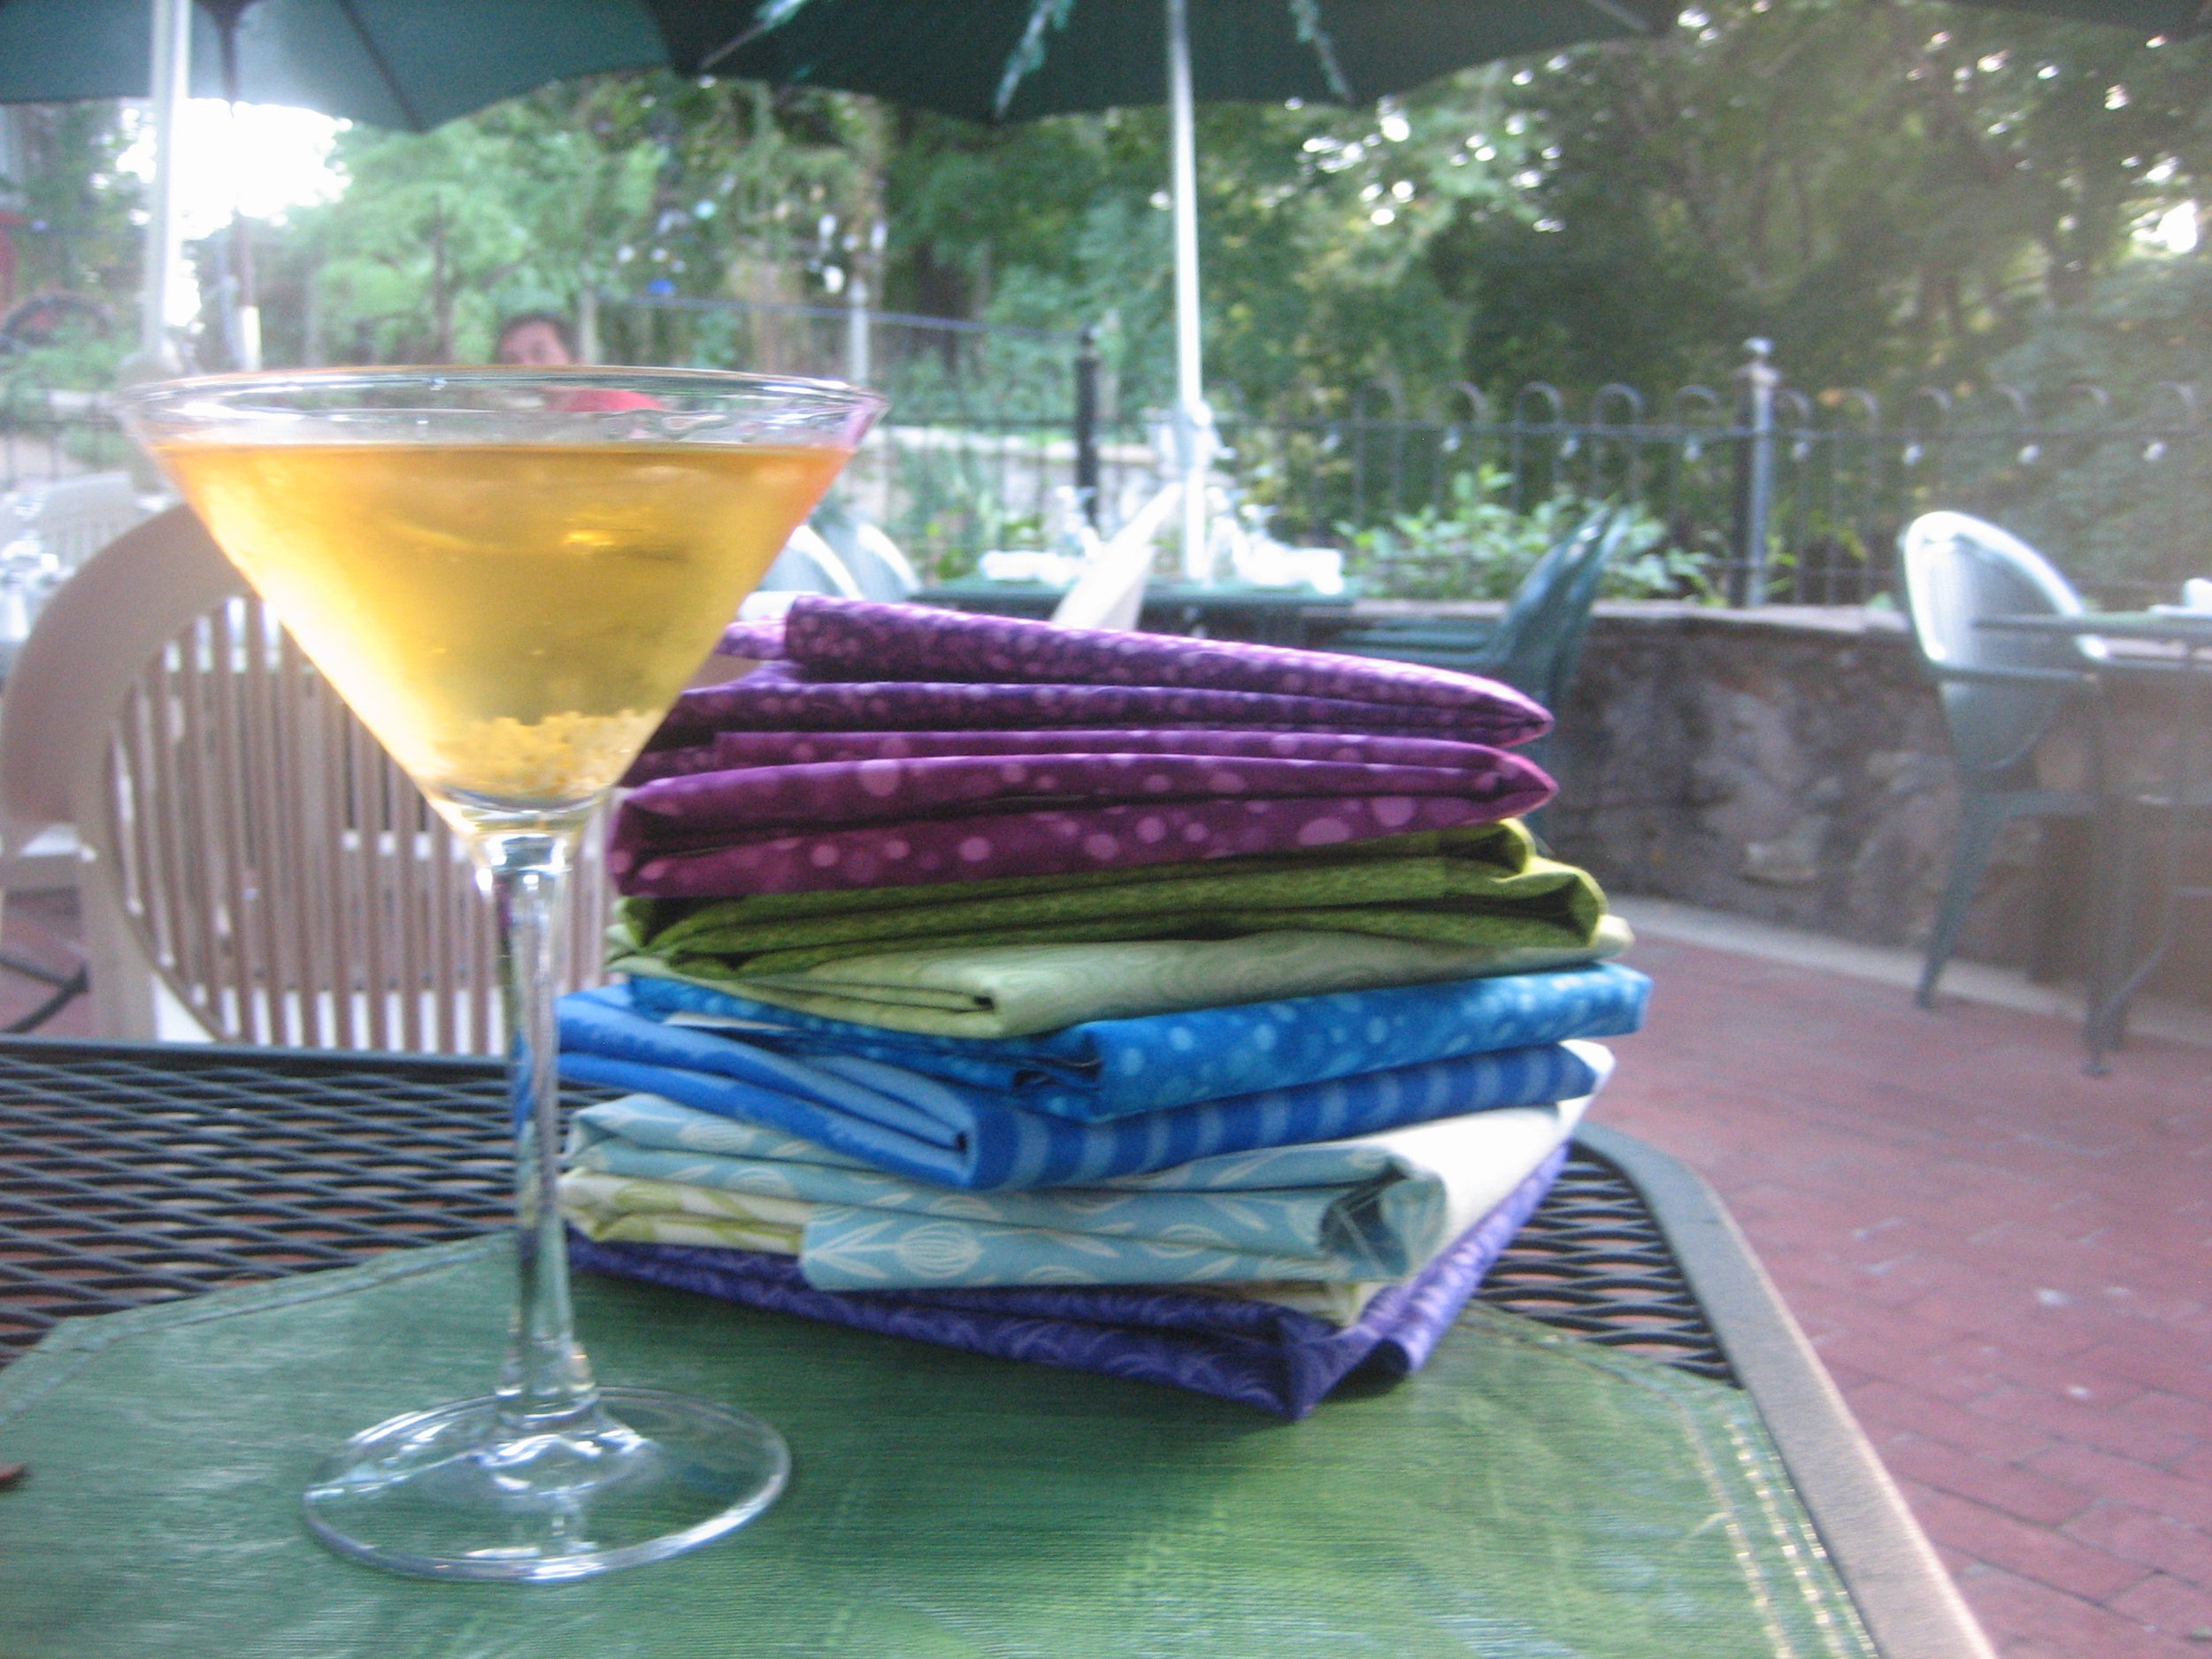
I am making a quilt for my dear friend Kelly B. to celebrate a milestone event, so over Labor Day weekend we went shopping for fabrics and had dinner and cocktails afterward.
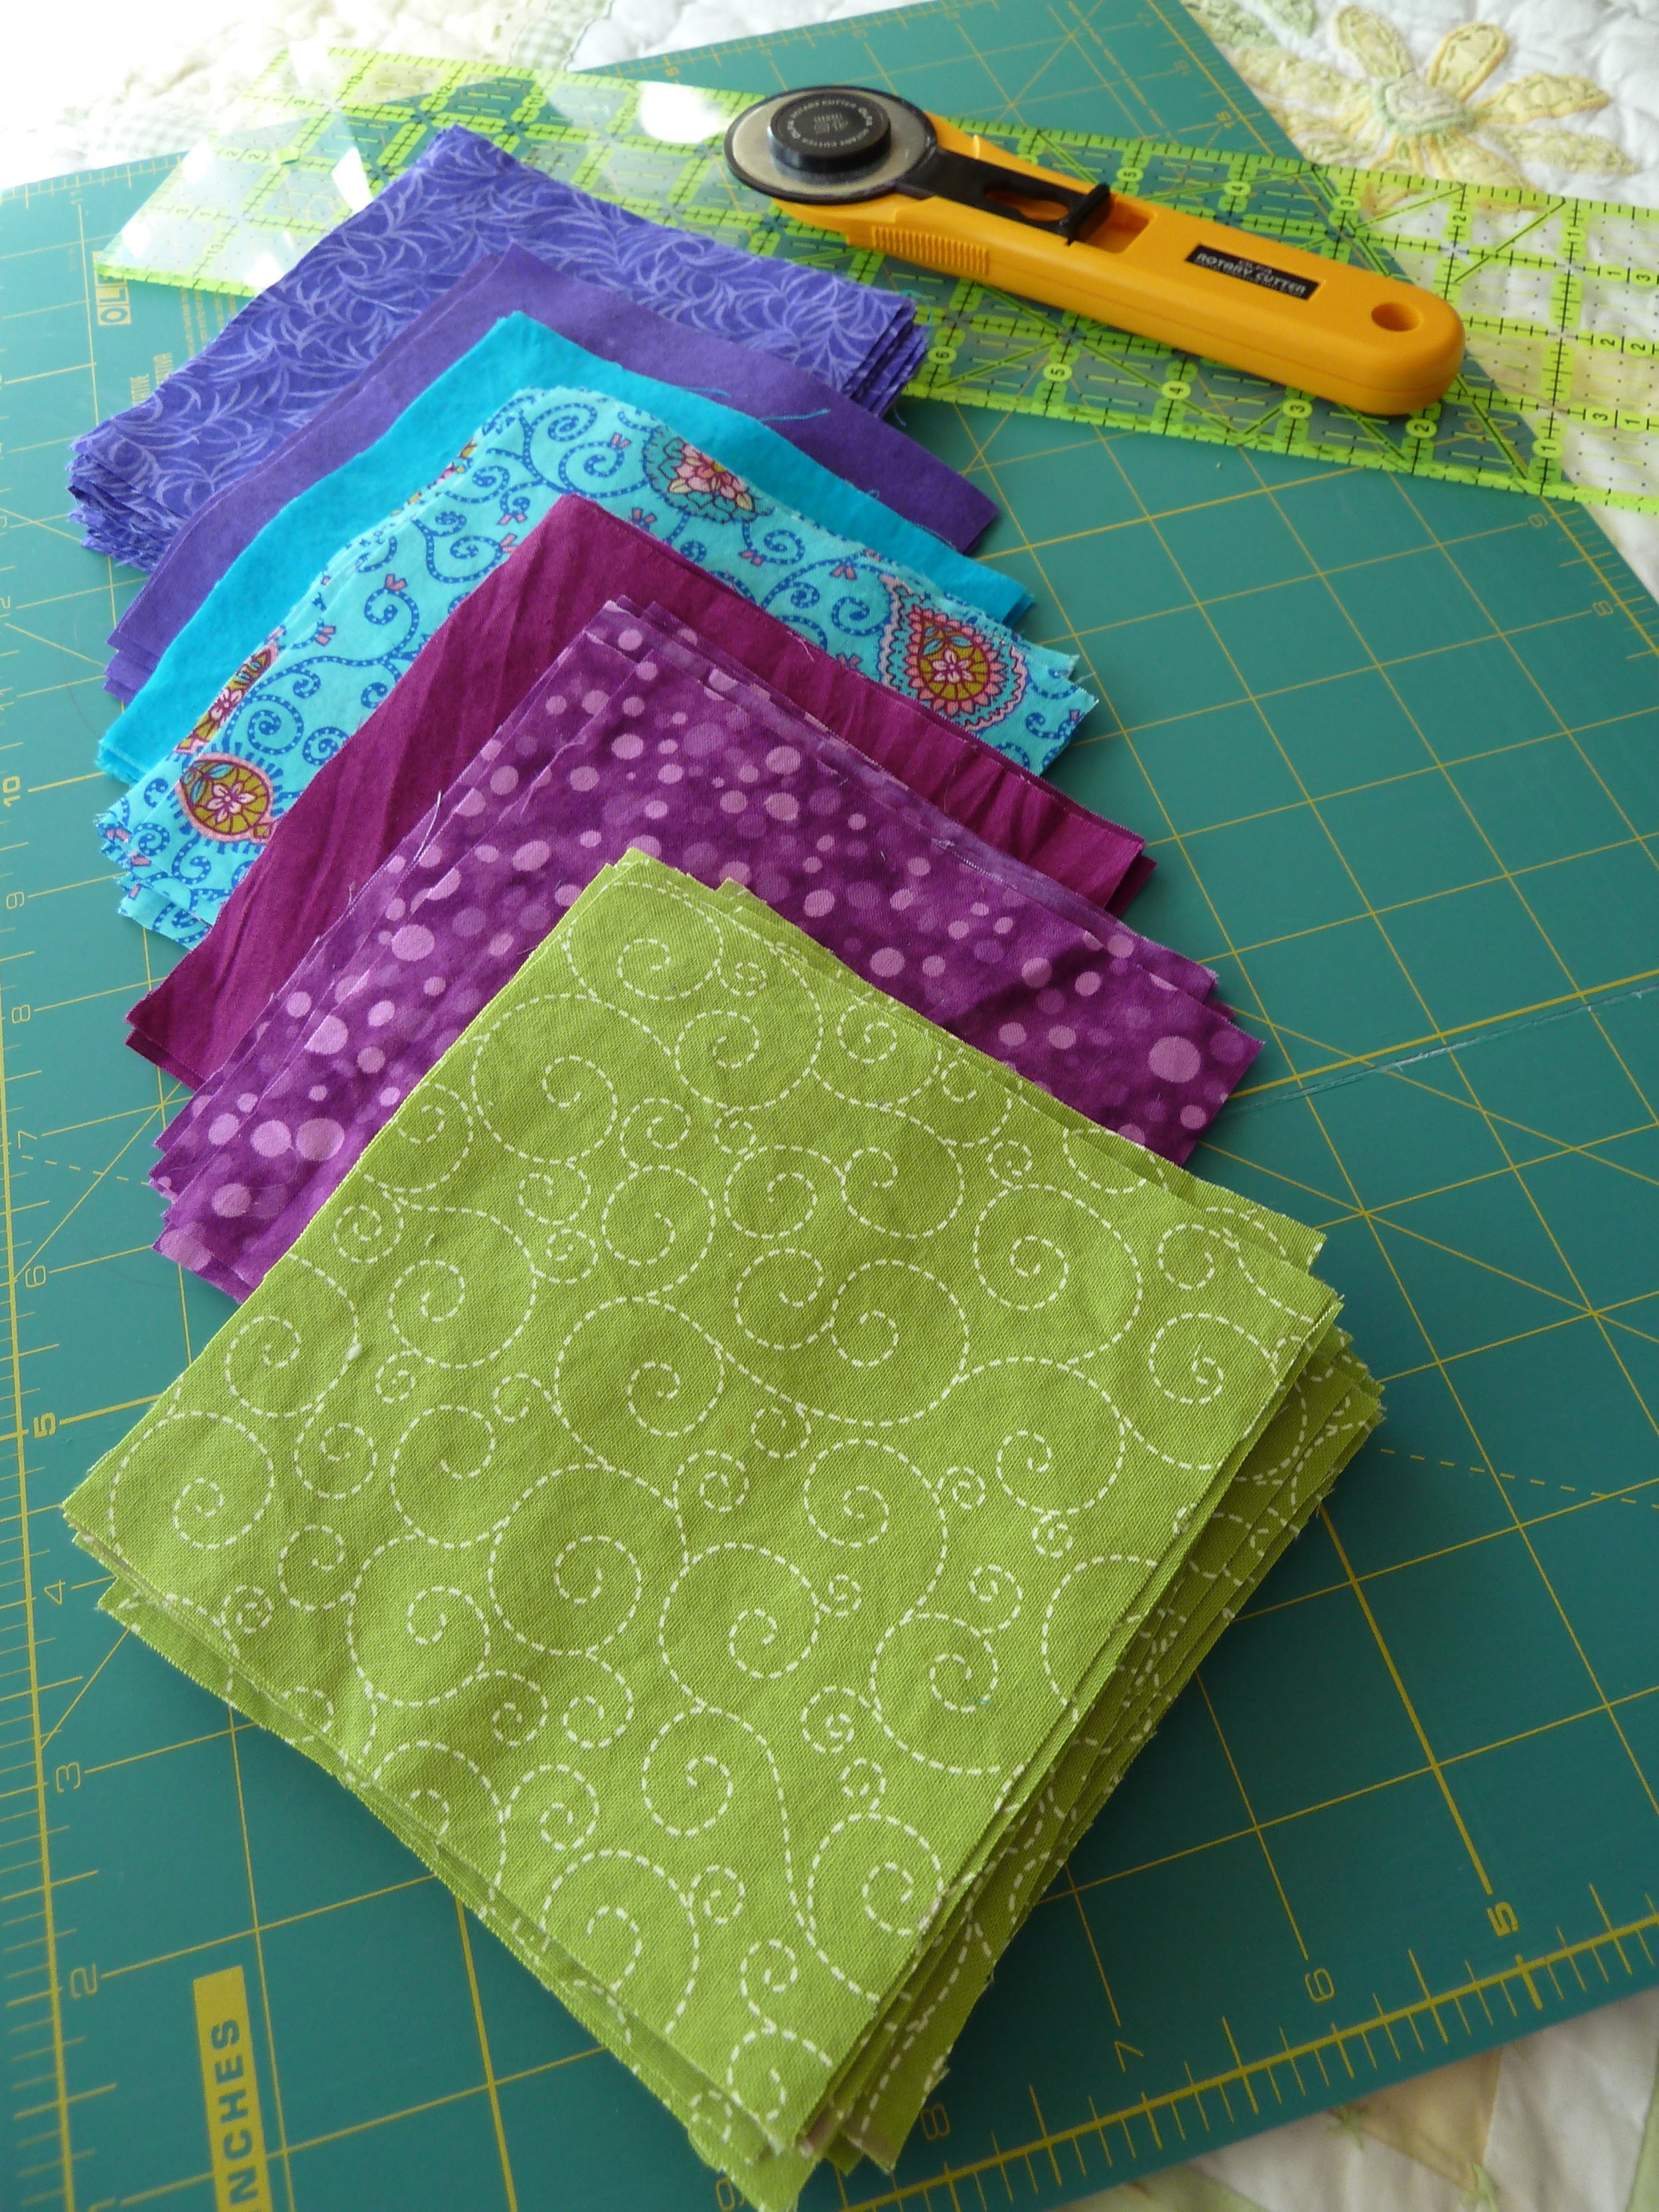
We looked at a bunch of designs, and the zig-zag was her favorite--which pleased me, because after making a zig-zag quilt for Ailbhe and Christian's baby I really wanted to make a larger one. This zig-zag quilt is really inspiring, and I'm going to do the colorful strips on the backing too. Kelly's also won't have those horizontal white panels between zig-zags like the baby quilt does. She picked out bright greens, fuschias, teals and purples, which is going to be a really stunning combination I think.This is going to sound totally geeky, but I love doing simple math in creative projects--it's really satisfying somehow. Like so: each finished square is 4" (4 7/8" with seam allowance); so for a quilt measuring 88" x 104", there'll be twenty-two columns and twenty-six rows. Twenty-six rows means thirteen zig-zags, so there'll be three zig-zags of three colors and four of the fourth. I need to cut 66 fuschia, 66 green, 66 teal, 88 purple, and 286 white squares...etc., etc.
I may post progress photos over the next several months, but only tiny teaser photos so she'll still be somewhat surprised when the thing is finished!
Welcome to Babyville, part 2
I'm home! Been anxious to blog about this:
 It's a zig-zag quilt, directions courtesy of Purl SoHo, measuring 40" x by 54" because I didn't want the baby to grow out of it right away (the sample quilt measures 32" by 44").
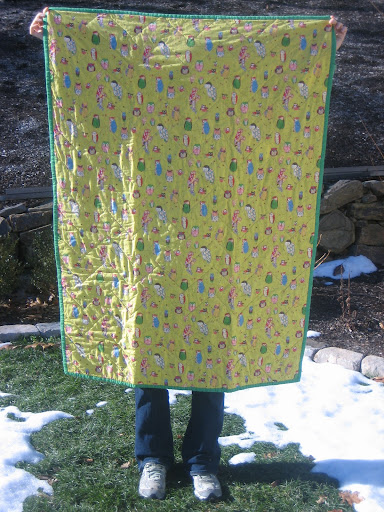 Ailbhe and Christian want to be surprised, which made choosing colors and fabrics slightly more challenging. Nothing too flowery, but I didn't want something too overtly boyish either. (I couldn't see giving the orange-and-blue Purl sample quilt to a little girl, for instance.)
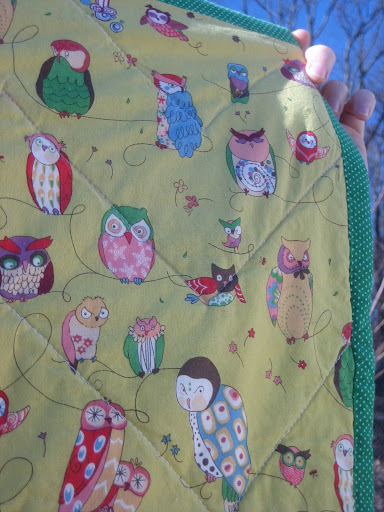 I found this thoroughly adorable Alexander Henry owl fabric for the backing (from Fabric Worm on Etsy), and I think it's perfectly unisex. (This is what I told my mother, who was surprised to learn that owls are hermaphrodites.) (Edit: this was a really dumb joke!)
 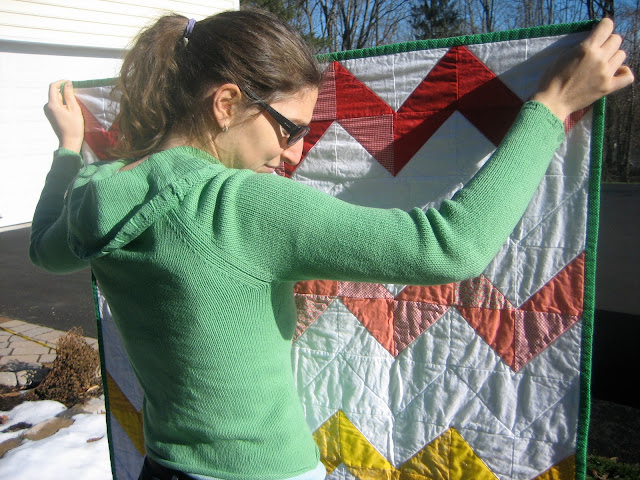 I chose the zig-zag colors to match the backing fabric, and decided that using salmon (it's not pink!) and blue would balance each other out. The fabrics are mostly fat quarters from Jo-Ann, though I did pick up two of the three salmon fabrics (and the quilt batting) from Purl SoHo while I was in New York. I used this handy tutorial to help with the binding.
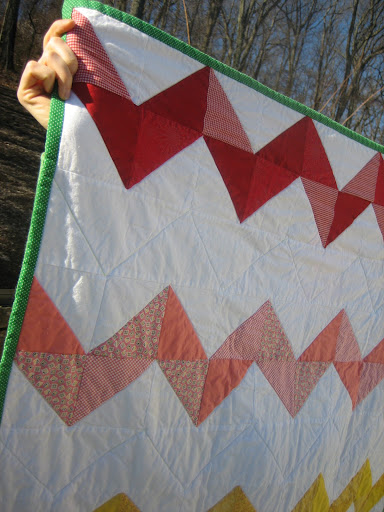 It's not perfect, but it's only the second quilt I've made--this project was definitely an exercise in anti-perfectionism. I'd never have finished it in time otherwise! There are definitely more quilts in my future...Oh, and here's the baby heffalump with his sweater vest.
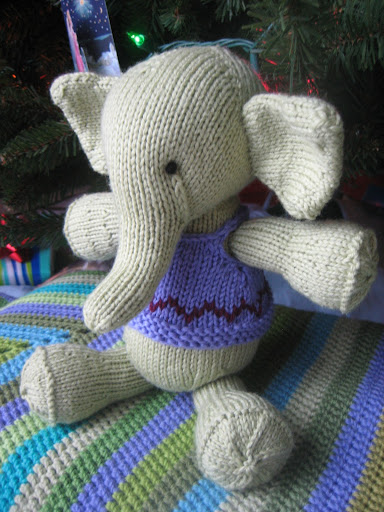 His name is Edmund (pending baby's approval).